Elkmountaintents: The Best Canvas Tents with Sewn-In Floors for Comfortable Outdoor Adventures
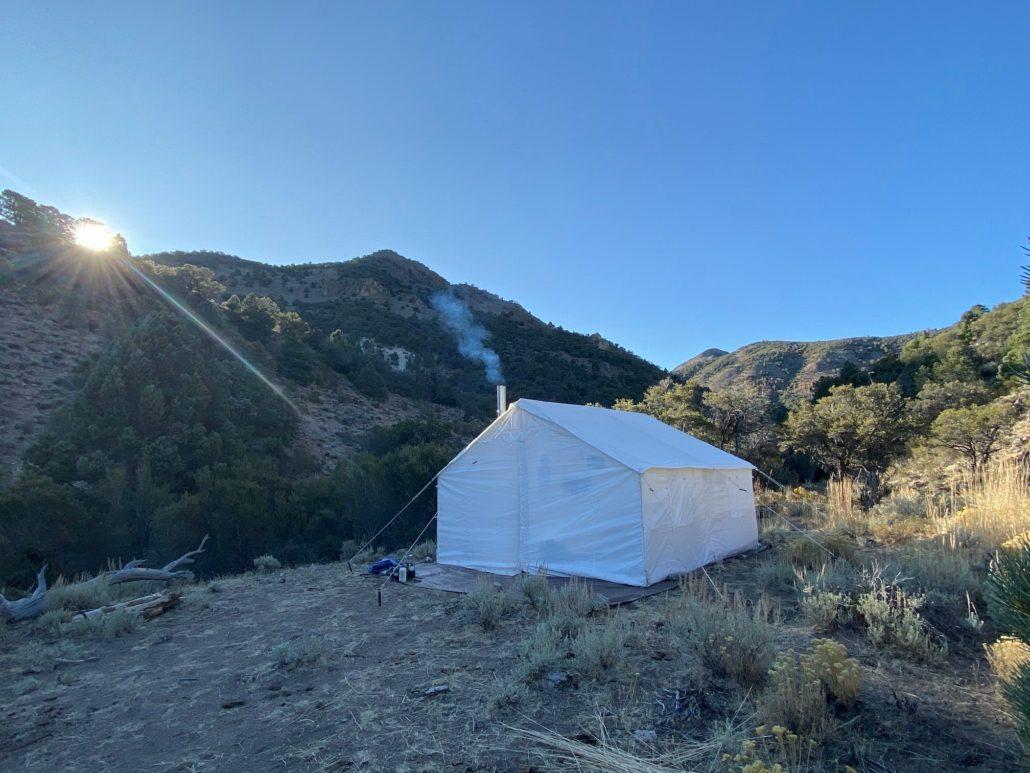
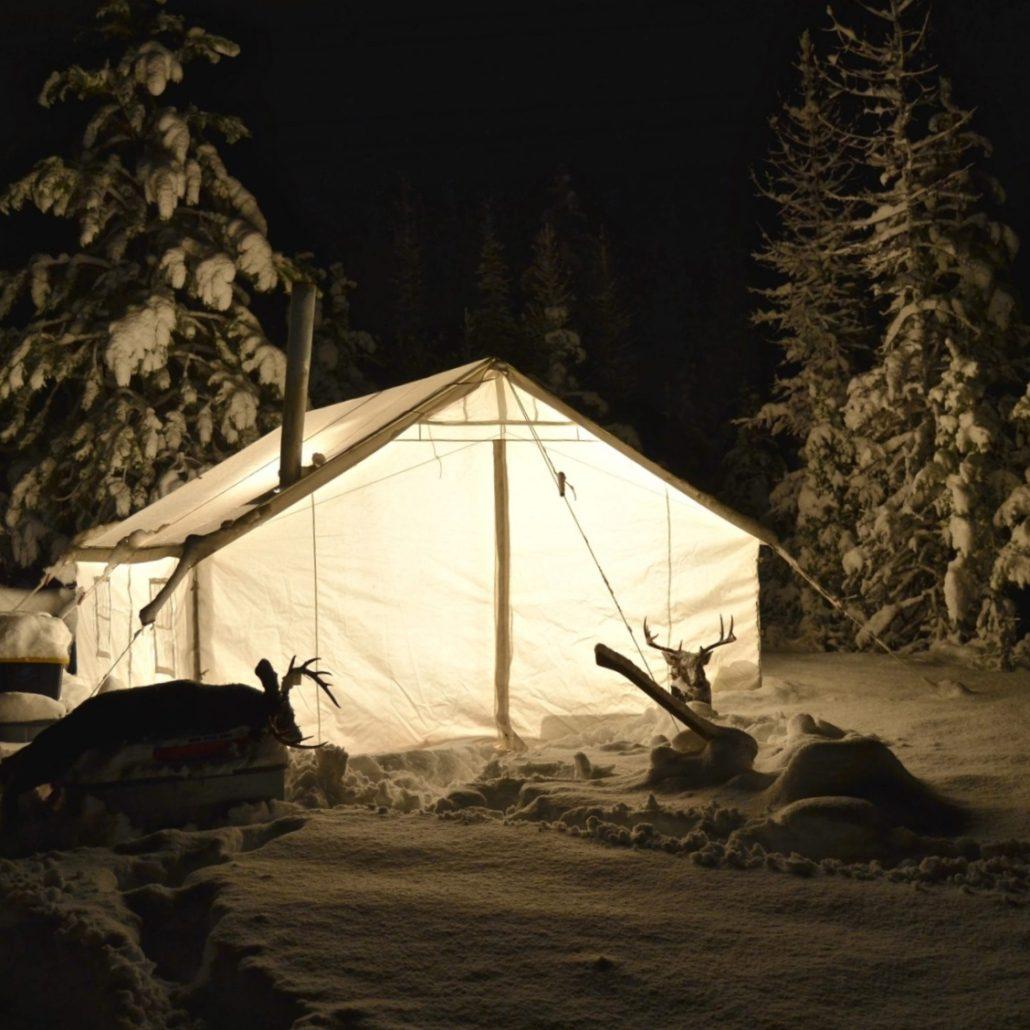
Canvas tents with sewn-in floors are a great option for outdoor enthusiasts looking for a durable and comfortable camping experience. These tents are typically made from heavy-duty canvas fabric and come with a floor that is attached to the tent itself, providing additional protection from the elements and keeping out unwanted pests. Elkmountaintents is a company that specializes in making canvas tents with sewn-in floors, and they offer a range of high-quality products that are perfect for camping, hunting, and other outdoor activities.
Introduction to Elkmountaintents
Elkmountaintents is a company that is dedicated to providing high-quality canvas tents with sewn in floors for outdoor enthusiasts. They offer a range of products that are designed to meet the needs of different types of outdoor activities, including camping, hunting, and glamping. The company has been in business for several years and has built a reputation for producing durable and reliable tents that can withstand even the harshest outdoor conditions.
Features of Elkmountaintents Canvas Tents with Sewn-In Floors
There are several features that make Elkmountaintents canvas tents with sewn-in floors stand out from other camping tents. Some of these features include:
- Heavy-Duty Canvas Fabric
The tents are made from heavy-duty canvas fabric that is designed to withstand harsh outdoor conditions. The fabric is water-resistant, breathable, and durable, which means it can withstand strong winds, heavy rain, and other adverse weather conditions.
- Sewn-In Floors
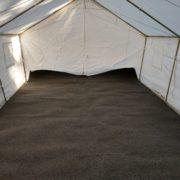
The tents come with a sewn-in floor that is attached to the tent itself. This provides additional protection from the elements and keeps out unwanted pests such as bugs and rodents. The sewn-in floor also helps to keep the interior of the tent clean and dry, which makes for a more comfortable camping experience.
- Spacious Design
Elkmountaintents canvas tents are designed to be spacious and comfortable. The tents are available in different sizes to accommodate different groups of people, and they come with multiple windows and doors for easy access and ventilation.
- Easy to Set Up
The tents are easy to set up and take down, which makes them a popular choice among camping enthusiasts. They come with detailed instructions and all the necessary hardware, so even first-time campers can set up the tents in a matter of minutes.
FAQs About Elkmountaintents Canvas Tents with Sewn-In Floors
- What is the difference between a canvas tent with a sewn-in floor and a regular camping tent?
A canvas tent with a sewn-in floor is designed to provide additional protection from the elements and keep out unwanted pests such as bugs and rodents. The sewn-in floor also helps to keep the interior of the tent clean and dry, which makes for a more comfortable camping experience.
- How long do Elkmountaintents canvas tents last?
Elkmountaintents canvas tents are made from heavy-duty canvas fabric that is designed to withstand harsh outdoor conditions. With proper care and maintenance, these tents can last for many years.
- What sizes do Elkmountaintents canvas tents come in?
Elkmountaintents canvas tents are available in different sizes to accommodate different groups of people. They range from small one-person tents to large tents that can accommodate several people.
- Are Elkmountaintents canvas tents easy to set up?
Yes, Elkmountaintents canvas tents are easy to set up and take down. They come with detailed instructions and all the necessary hardware, so even first-time campers can set up the tents in a matter of minutes.
Conclusion
If you are looking for a high-quality canvas tent with a sewn-in floor, Elkmountaintents is an excellent choice. Their tents are made from heavy-duty canvas fabric, come with a sewn-in floor, and are spacious and easy to set up. They are designed to provide a comfortable and durable camping experience that can withstand even the harshest outdoor conditions. Whether you are planning a weekend camping trip with your family or a hunting expedition with your friends, Elkmountaintents has a canvas tent that will meet your needs.
In addition to their canvas tents, Elkmountaintents also offers a range of accessories such as stove jacks, tent footprints, and tent poles that can be purchased separately or as part of a bundle. These accessories can help enhance the functionality of your tent and provide added convenience during your camping trip.
Overall, Elkmountaintents is a company that is committed to providing high-quality canvas tents that are durable, reliable, and comfortable. Their tents are designed to meet the needs of different types of outdoor activities and are a great investment for anyone who enjoys spending time in the great outdoors. With proper care and maintenance, an Elkmountaintents canvas tent can last for many years and provide you with countless memories of your outdoor adventures.

