Setting Up Your Wall Tent or Bell Tent
Printable Wall Tent Instructions
Click on the following links below to access the latest detailed printable instructions. Alternatively, you can right click and choose “save as.”
13×13, 13×16, 13×16 w/ awning, 13×20, 13×20 w/ awning, Yukon Bell Tent
(also available: old instructions with floor poles)
Setup videos are also available at the bottom of this page!
Standard Angles (free with tent purchase)
Materials Needed
We sell frames that come with pole clips and bags, but you can make your own out of 1″ EMT (electrical) conduit. 1″ EMT has an outside diameter of 1.163″. EMT can be purchased at most hardware stores and comes in 10-foot sections. The cost of making poles will be around $350 to $480 depending on the size of tent.
Our frames come with pole clips so they can easily snap into the angles.
Prior to 2024 we use to sale angles and frames made for 3/4″.
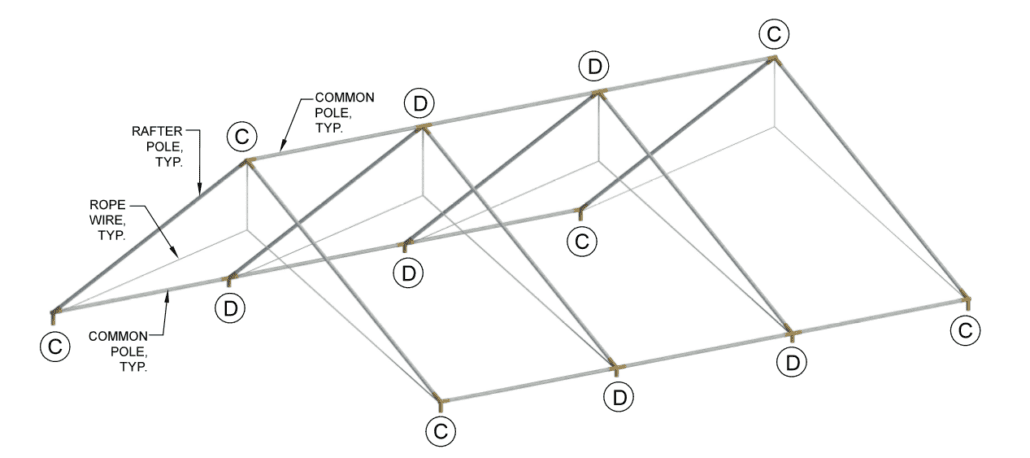
Rafter System – 13 x 16 Canvas Wall Tent
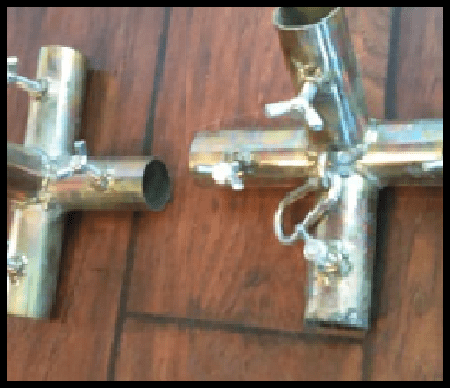
Below is an example of a 4 rafter system for our 13×16 and our 13×20 canvas tents. The 13×13 tent is a 3 rafter system. We supply all of these angle pieces with the tent. Our 4 rafter wall tents come with the twelve 1″ angle pieces seen below. In addition to the angle pieces, the tent includes a wire truss system unique to our canvas tents. For ease of installation, the ridge angle pieces each come with a carabiner that attaches to the wire truss system. If you plan on having your canvas tent handle snow loads, you will needed additional trusses or supply vertical support. Additional angle pieces are for sale.
| NAME | QTY | LENGTH |
|---|---|---|
| Rafter | 8 | 7-feet, 5-inches |
| Common Pole | 15 | 5-feet, 4 1/2-inches |
| Leg | 8 | 4-feet, 9-inches |
No Frame Option

You can set the wall tent up a few different ways in the backcountry without a frame.
- Run a rope through the eave openings and tie the ends to two trees.
- Run a rope through the eave openings and build two “A” frames on each end to run the rope over and stake down.
- Run a tree through the eve openings and rest on the two “A” frames. The center strap in the eve opening may need to be removed to make this options work.
Wall Tent Fly
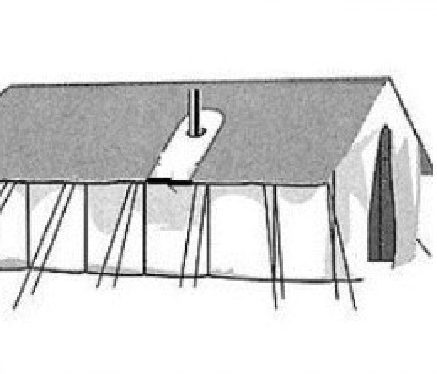
We recommend a tent fly. This will help protect your investment from embers as well as give you an additional layer of protection from the elements. Embers will burn a hole in any wall tent no matter the material or fire treatment. We sell a lightweight, waterproof fly made to fit your tent, but you can also use a standard tarp. A two-foot hole will need to be cut out around the stove pipe if you use a tarp. Our tents are treated to make them waterproof, but all fabric can and will leak eventually.
Wall Tent Floor
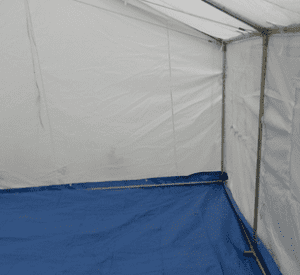
Installing a floor is easy with the extra angle pieces we provide. We sell a heavy duty rubberized PVC floor that is made to fit your tent. They tie into place. You can also purchase a tarp that is slightly larger then the tent size. Tuck the tarp under the wall poles or under the base poles and pull the material up between the wall poles and the canvas. The ground cloth is then tucked under the tarp and poles.
Yukon Bell Tent Assembly

By comparison, bell tents are much easier to setup than wall tents. They offer most of the perks of a wall tent – ample space and are similar to yurts but with lower side walls. You should have no trouble putting up your Yukon bell tent by yourself.
You are welcome to download the complete instructions, but the gist of the assembly process is as follows:
- Pick a spot that will allow for the tent plus 6 ft in every direction for the guy ropes.
- Protect the floor by first placing a tarp down (optional).
- Stake down the floor with the small pegs.
- Prop up the tent with the center pole.
- Attach the ropes and stake them down.
- Assemble the frame inside the tent.
- Adjust the guy ropes to create desired tension.