How To Set Up a Dome Tent: A Beginners Guide
Choosing Your Tent
Elk Mountain Tents does not sell dome tents or any tents made of lightweight materials. The closest thing would be their Yukon Bell Tent, but even this offering, which is easier to set up than a wall tent. Their tents use a 100% polyester canvas which offers the same breathability as cotton canvas but does not require the same expensive treatments you’d expect of cotton canvas. Polyester canvas requires no UV treatments, no rain treatments, and no mold treatments.
But, if you’re looking for a dome tent or a backpacking tent, canvas tents are not for you because they are simply too heavy. That said, if you’ve already got a dome tent, here’s a basic setup!
Preparing Your Tent Site
Before setting up your tent, it is essential to choose a suitable campsite. Here are some things to consider:
- Terrain: Look for a flat, level surface to pitch your tent. Avoid rocky or uneven ground, as it can damage the tent’s floor.
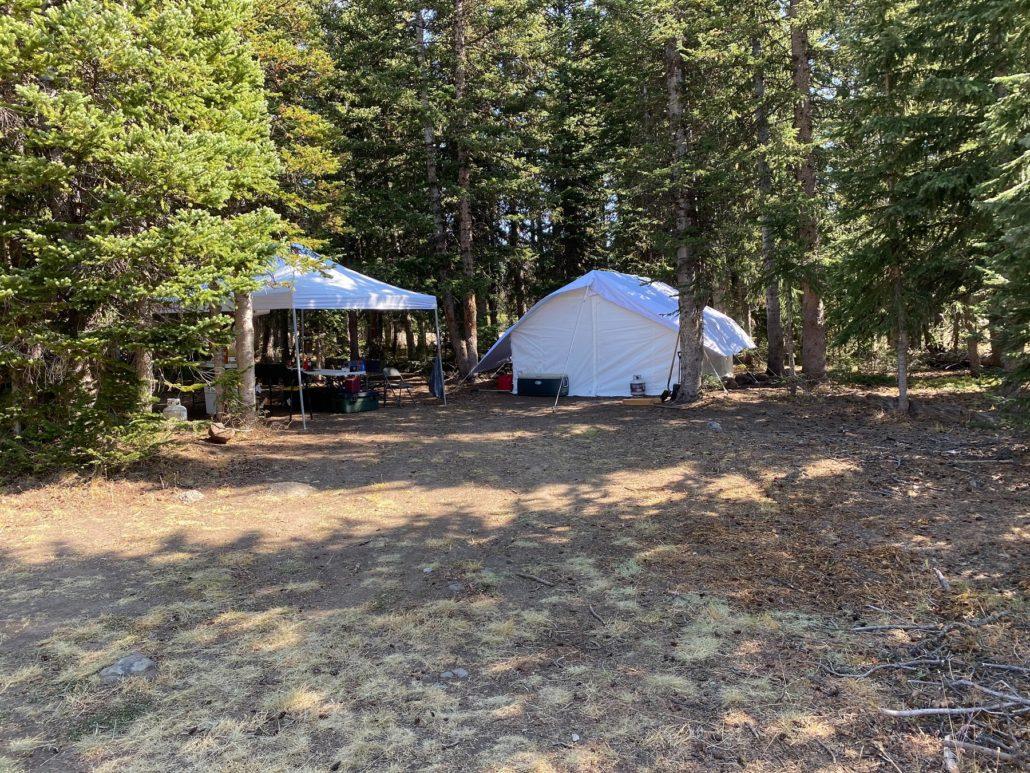
- Vegetation: Avoid setting up your tent under trees or bushes that can drop branches, sap, or debris.
- Water: Look for an area that is not prone to flooding or standing water.
- Sunlight: Choose a spot that gets enough sunlight to dry out any morning dew or rain.
Once you have selected your site, clear the area of any rocks, sticks, or debris that can puncture the tent floor. You can use a tent footprint or tarp to protect the floor from damage.
Setting up the Tent Poles
- Lay out the tent: Unroll the tent and lay it flat on the ground. Make sure the tent door faces the direction you want to enter.
- Assemble the poles: Gather the tent poles and assemble them according to the manufacturer’s instructions.
- Insert the poles: Insert the poles into the grommets on the tent. Begin with the front pole and work your way towards the back, always pushing and never pulling. Use the corner straps to secure the poles in place.
- Raise the tent: Once the poles are in place, raise the tent by pushing up on the center pole. The tent should stand upright, with the door facing the right direction.
Attaching the Guy Lines (if your tent has them)
Guy lines are essential for stabilizing your tent in windy conditions. Here’s how to attach them:
- Locate the guy line tabs: several tabs around your tent serve as attachment points for the guy lines.
- Tie the guy lines: Tie one end of the guy line to the tab on the tent and the other end to a stake in the ground. Make sure the line is taut, but not too tight. Repeat this process for all the guy lines.
- Adjust the tension: Once all the guy lines are attached, adjust their tension to stabilize the tent.
Finishing Touches
- Staking the tent: Secure the tent to the ground. Hammer them into the ground at a 45-degree angle away from the tent, leaving enough room for the guy lines.
- Adding a rainfly: Often a separate rainfly tcan be attached to the tent using hooks and loops. The rainfly provides extra protection from rain and wind. It also protects the tent from UV damage.
FAQs
Q: How long does it take to set up a tent?
A: The setup time for an tent varies depending on the size and experience of the user. However, with practice, a common dome tent can be set up in as little as 5-15 minutes.
Q: Can I set up a tent alone?
A: Yes, most tents are designed to be set up by one person. However, it is always easier and faster with two people working together. Even a fancy canvas tent can be assembled with just one person (though two is a lot easier)
Q: How do I store my tent?
A: Always make sure your tent is clean and dry before storing it. Store it in a cool, dry place away from direct sunlight and moisture. Use the bag it came with and do not pack the tent too tightly.
Conclusion
Setting up a tent is a straightforward process that can be done by one or two people. Follow the manufacturer’s instructions and you’ll be just fine. Remember to choose a suitable campsite, stake the tent securely, and use the guy lines to stabilize it in windy conditions.
It is always a good idea to practice setting up your tent before heading out on your camping trip. This will help you become familiar with the process and ensure that you have all the necessary components. It will also give you an opportunity to check the tent for any defects or damages that may require repairs.